Most homeowners contacting a landscape design firm for the first time have the same two questions: how long will this take, and what actually happens between "I want a new patio" and "the new patio is finished." The honest answer for most residential projects in the Rockford, IL area is six to twelve weeks, broken into four distinct phases.
This guide walks through what each phase involves, what you should expect from a competent landscape design-build firm, and the questions worth asking before you sign anything.
What "Design-Build" Actually Means
Before the process, a definition. "Design-build" means one firm both designs your landscape and installs it. The alternative — and unfortunately still the most common model — is "design-bid-build," where a landscape architect produces a design and you hire a separate contractor to install it.
Design-build has three practical advantages for residential projects:
- One accountable team. When the install crew has questions during construction, they ask the designer who drew the plan. No phone tag, no "the contractor changed my design without telling me," no finger-pointing if something doesn't work.
- Realistic budgets. Designs produced by firms that don't build often specify materials or details that double the install cost. Design-build firms design within what they know the build will actually cost.
- Faster timeline. Skipping the bid phase and the contractor-selection process compresses a project by 4–8 weeks on average.
The trade-off: design-build firms are usually less appropriate for very large, very complex, or institutional projects where the design phase alone is months of work. For a residential design-build project — patio, walls, planting, lighting — design-build is usually the right call.
Tree Care Enterprises has operated as a landscape design and build firm in the Rockford area since acquiring Forsgren Landscaping in 2000. The four-phase process below is what we use on every residential project, from a $12,000 patio to a $180,000 estate hardscape.
Phase 1: Site Consultation (Week 1)
A designer comes to your property. The visit is free.
What happens in this hour:
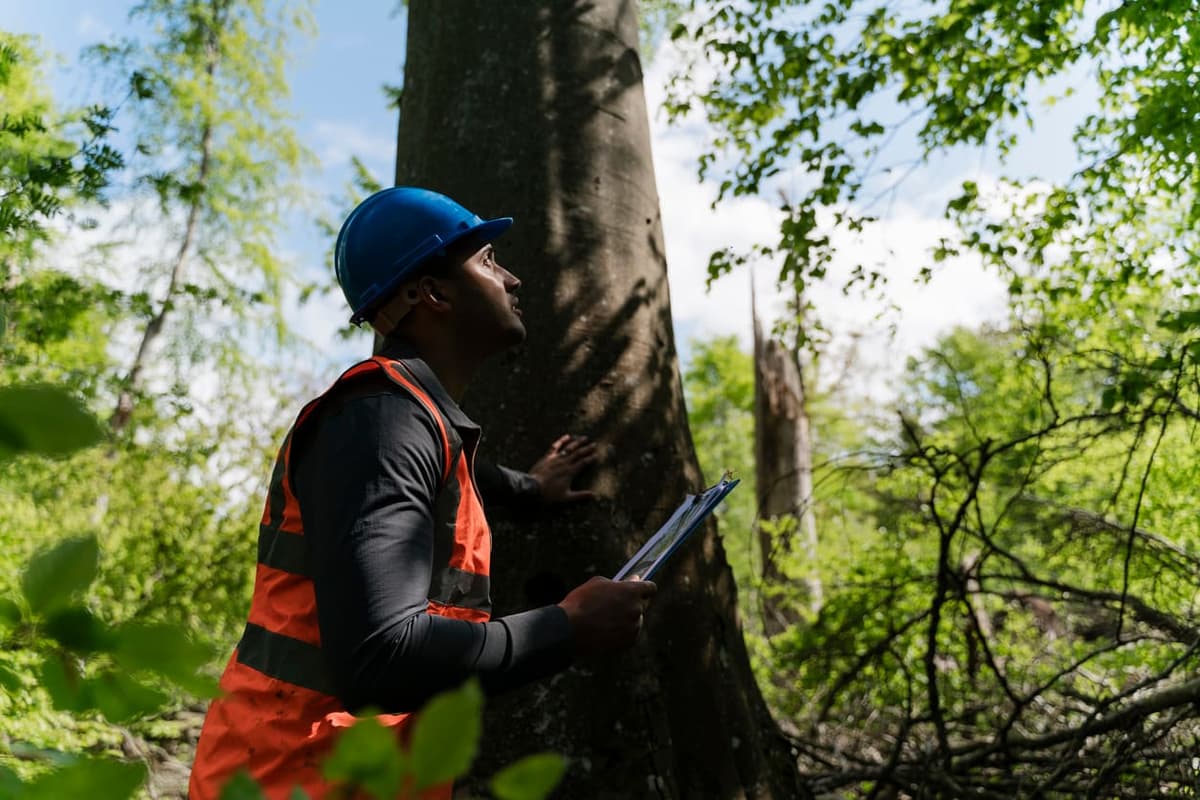
- Walk the site together. You point out what's not working, what you've thought about doing, what your kids/dogs/neighbors do that constrains the design. The designer measures key dimensions, takes photos, and notes existing trees, grade, drainage patterns, and sun exposure.
- Talk about how you actually use the space. Most outdoor design failures are sizing failures — a patio sized for "the one time we had 30 people over" sits empty the other 51 weeks of the year. A good designer asks how many people you typically host, when you'd use the space, whether you cook outside, whether shade matters by 3pm.
- Discuss budget tier. Not a specific dollar amount — a range. Are we designing toward $20,000, $50,000, or $150,000? Designers who skip this step will produce a $90,000 design for someone with a $30,000 budget and waste everyone's time.
- Identify mature trees and existing landscape constraints. This is where having a designer trained as an arborist matters. Patios installed within a mature oak's critical root zone kill the tree within a decade. Good designers see those constraints; mediocre ones don't.
By the end of the consultation, you should know:
- Roughly what's feasible on your site
- Rough budget tier
- Realistic timeline
- Whether this firm is the right fit (you're interviewing them too)
What you should NOT have at this stage: a design, a price, or a contract. Design work begins in Phase 2.
Phase 2: Design Development (Weeks 2–4)
Design work begins after the consultation and typically takes two to four weeks depending on project complexity.
For a typical residential project, the design package includes:
- A scaled 2D site plan showing the patio location, dimensions, planting beds, hardscape elements, and key dimensions to property lines and existing features
- A planting list identifying each plant species, quantity, and approximate location
- Material specifications — exact pavers, stone, wall block, lighting fixtures, irrigation components
- Section details where needed — retaining wall construction, drainage details, fire feature integration
For larger or more complex projects, this expands to:
- 3D renderings — photo-realistic views of the finished design from multiple angles. Valuable when you're spending $80,000+ and want to see what you're committing to before excavation starts.
- Engineering drawings for retaining walls over 4 feet or unusual structural elements
- Lighting plan with fixture placement, transformer location, and circuit layout
- Material samples delivered to your home so you can see paver colors and stone in your actual light conditions
Most projects go through one or two revision rounds. The first revision typically addresses small refinements (more seating here, different planting there). The second is usually a final polish. Designers who let you take six revision rounds either lack confidence in their initial design or are billing hourly — neither is ideal in design-build.
What about design fees?
In design-build firms, design fees usually roll into the build cost on signed projects. If you sign and proceed, there's no separate design invoice. If you walk away after design, some firms charge a kill fee (typically $1,000–$3,000 for residential projects); others (like Tree Care Enterprises) don't charge anything. Worth asking up front.
Phase 3: Approval and Scheduling (Weeks 4–6)
Once the design is finalized, the firm produces a written, itemized estimate. This is where soft "design tier $20K–$60K" becomes a real number.
A good estimate includes:
- Itemized scope — every hardscape feature, every plant, every linear foot of wall, every fixture
- Material specifications — manufacturer, product line, color
- Labor breakdown — site prep, hardscape installation, planting, lighting, cleanup
- Schedule — start date, expected duration, payment milestones
- Warranty terms — both manufacturer warranties and the firm's own installation warranty
- Permit responsibilities — who pulls permits, who pays for them
You sign the contract, pay a deposit (typically 25–40% on residential projects), and the firm orders materials and begins the pre-construction logistics:
- Materials ordered (some specialty pavers and stone have 4–8 week lead times)
- Permits pulled if required by your municipality
- Utility locates called (JULIE in Illinois)
- Build dates confirmed and put on your calendar
For seasonal projects in the Rockford area — and most installations are seasonal, April through November — the firm should tell you up front when realistically the work will begin. Spring slots fill from January onward. Mid-summer slots fill by April. If you're planning a fall installation, scheduling in May is reasonable; if you're hoping for spring, the previous fall is the right time to design.
Phase 4: Build (Weeks 6–12+)
Build duration depends on project scope. Rough guidelines for the Rockford area:
- Small patio (200–400 sq ft): 1–2 weeks on site
- Mid-range project (patio + planting + lighting): 2–4 weeks on site
- Estate or full-property hardscape: 6–12 weeks, sometimes phased across multiple months
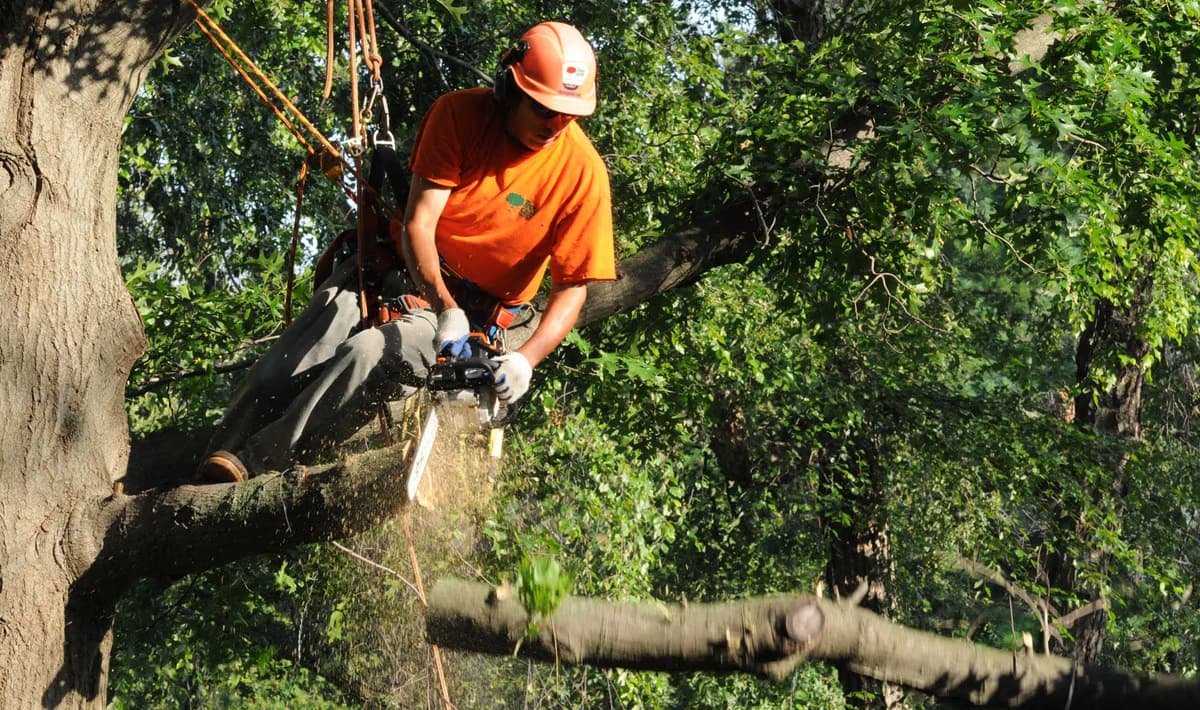
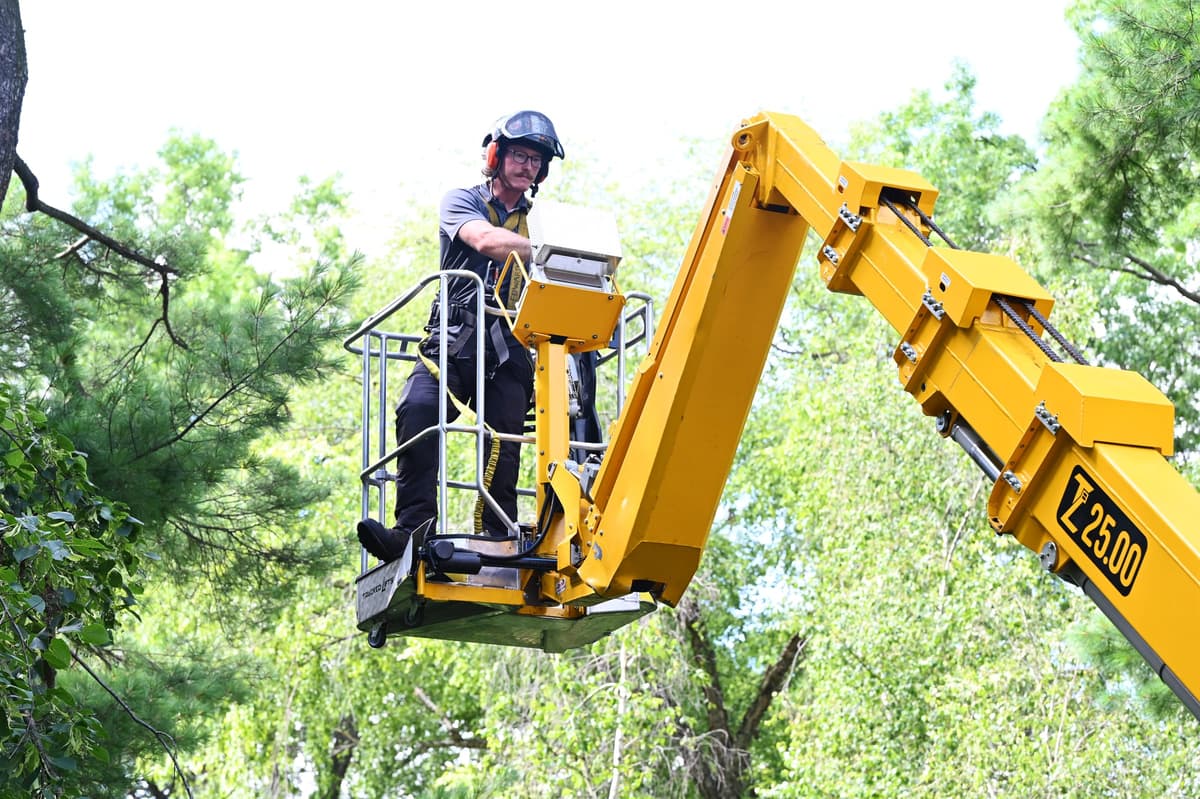
What happens during the build:
- Site prep. Excavation, debris removal, protection of existing trees and turf areas not in the project zone.
- Base preparation. For hardscape, this is the most important phase and the easiest to skip. Watch for adequate excavation depth and proper compaction.
- Hardscape installation. Patios, walls, steps, walkways. Cut on-site with wet saws for clean edges.
- Planting. Trees and large shrubs first (often before hardscape on integrated designs), then perennials and groundcovers.
- Irrigation and lighting installation. Trenching, fixture placement, transformer mounting, programming.
- Final grading and mulch. Sets the planting beds, controls drainage one last time.
- Cleanup. All debris hauled off, lawn areas restored or seeded, site swept.
Throughout the build, you should expect:
- A daily on-site lead who can answer questions and adjust the work if you have concerns
- Photo updates at major milestones
- No surprises. Anything that comes up during construction (rock layer, unexpected drainage issue, design tweak) should be communicated immediately, with a real cost and schedule impact, before work proceeds.
At completion, you and the project lead should walk the finished work together. This is when you flag anything not finished to spec — a missing plant, an uneven cap stone, an out-of-square edge — and the firm corrects it before final invoicing.
Common Mistakes Homeowners Make
After twenty-six years of design-build projects, the patterns are predictable.
Shopping on price alone
The cheapest landscape design-build quote you get is almost always cheap because something important got cut. Base depth, material quality, design depth, or post-install support. Compare estimates feature by feature, not by bottom line.
Designing without a budget
"Just design something nice and we'll see what it costs" produces designs that come in at 2–3× what you wanted to spend. State the budget tier early.
Trying to value-engineer mid-build
Changing the design after construction starts triples the change-order cost. Get the design right in Phase 2 when changes are paper-only.
Ignoring drainage
Drainage is the topic nobody thinks about until it goes wrong. Standing water after rain, foundation moisture, killed plantings, icing on walkways in winter — all drainage problems, all preventable at the design phase, all expensive to fix later.
Killing mature trees
Hardscape installed within a mature tree's root zone — or planted under one without coordination with an arborist — is one of the leading causes of mature-tree decline on residential properties. The 100-year-old oak that anchors your property is usually worth more than the patio that kills it. Design around the tree, not against it.
What to Look for in a Landscape Design-Build Firm
A few practical things to verify before you sign:
- Years in business — landscape contractors come and go. A firm with 15+ years in your specific market has weathered the typical failure modes.
- Licensing and insurance — general liability, workers' comp. Ask for a certificate.
- Industry credentials — TCIA Accreditation (tree care), ICPI certification (paver installation), licensed irrigation contractor where applicable
- Portfolio of completed work — both photos and, ideally, addresses you can drive by
- Reviews on multiple platforms — Google, Houzz, Angi, BBB. Look for patterns, not individual ratings
- In-house crews vs. subcontractors — design-build firms with their own installation crews tend to deliver more consistent quality than firms that subcontract every phase
Get Started on a Landscape Design Project in Rockford
Tree Care Enterprises has been running this exact process across Winnebago and Boone counties since 2000. Call 815-965-5757 or request a free site consultation online.
For more on what each phase includes, see our landscape design and build service page. For specific service detail: paver patios, retaining walls, outdoor living spaces, and hardscape design.